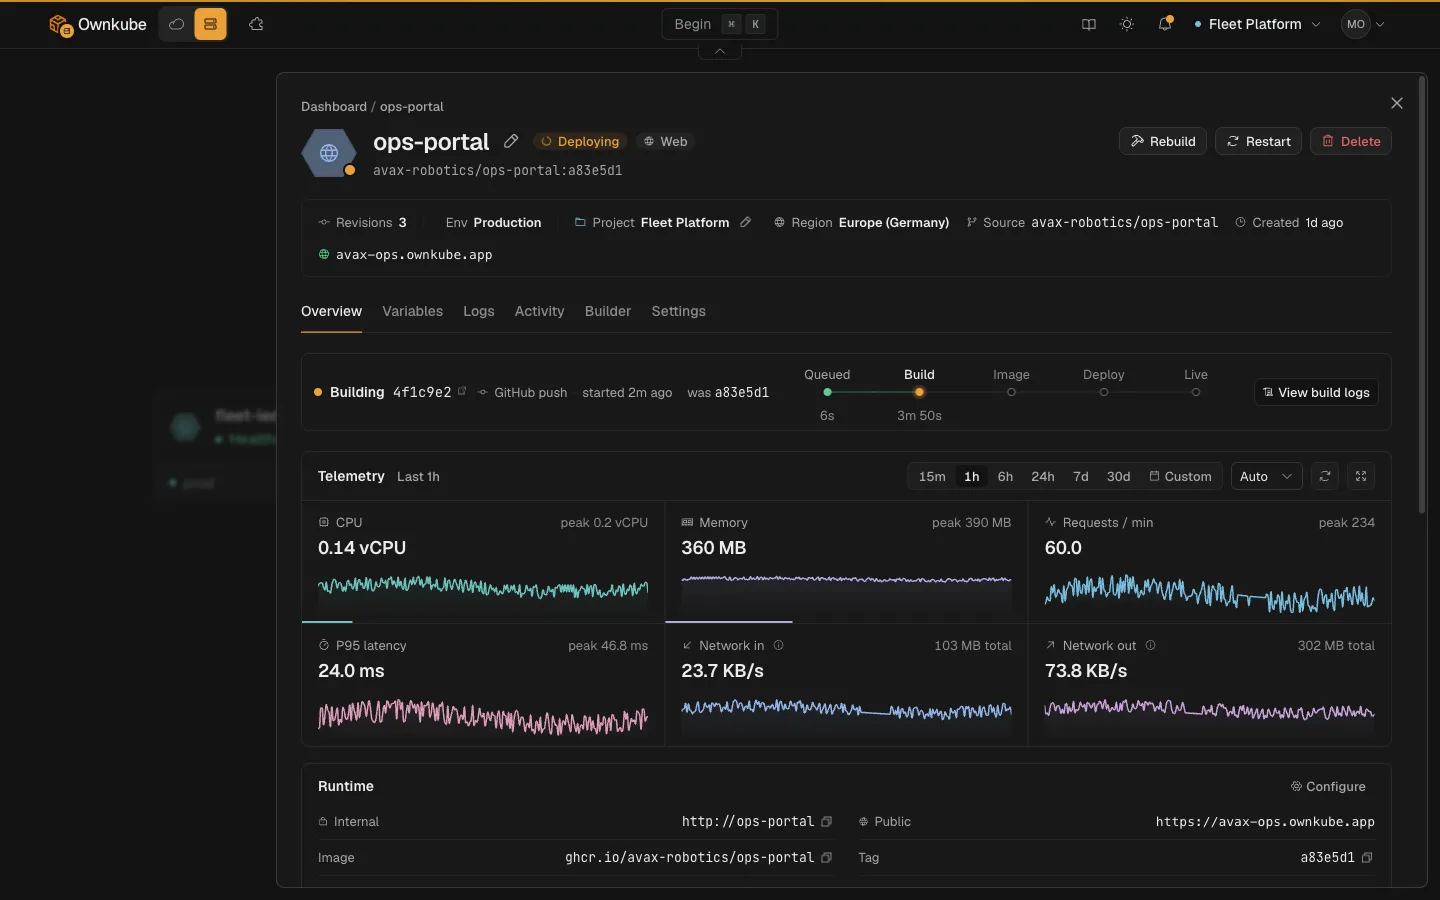

An app you built and deployed on Ownkube Compute can move into your own AWS account, or a customer’s, without touching the code or the Dockerfile. This is what changes, what stays the same, and the steps to do it.
TL;DR
- Ownkube Compute (no cloud account, deploy in seconds) and running in your own AWS account are two on-ramps for the same platform. You can switch a project from one to the other.
- Connecting an AWS account uses a CloudFormation stack that creates a least-privilege IAM role. Ownkube never receives your AWS keys.
- Two cluster shapes: Starter is free forever on a single AWS instance (you pay AWS directly, roughly $30/month for the instance itself); Production is multi-AZ at $5 per vCPU per month plus $1 per GiB of RAM per month, metered per second, with no markup on the AWS bill.
- AWS Activate and other startup credits apply in full to whatever you pay AWS for either shape.
- Your app redeploys the same way (git push or a Dockerfile), and its logs, metrics, and health checks show up in the same dashboard you already use. GCP and Azure are coming soon, not available yet.
Why this matters more than it sounds
Most platforms make you choose upfront: managed compute you don’t operate, or your own cloud account you manage yourself. Picking wrong means a rewrite later, new environment variables, a different deploy pipeline, and a second dashboard to learn for logs and metrics.
Ownkube treats that as one decision you can revisit. Build and ship fast on Ownkube Compute with no AWS account of your own. If the app grows into something you want on your own infrastructure, for compliance, cost control at scale, or because you’re standing it up for a customer, you connect an AWS account and deploy the same app there. The dashboard, the deploy flow, and the observability are the same surface either way.
What “no rewrite” actually means
The app doesn’t know which world it’s running in. If you deploy from a Dockerfile or a git push today, that’s still how you deploy after moving to your own AWS account. Environment variables and the deployment’s settings carry over the same way. Moving to a Starter (K3s) cluster in your own AWS account also unlocks custom domains, which are a Starter feature today and on the roadmap for Compute. What changes is who owns the underlying compute and who you pay for it: on Compute, you pay Ownkube through the prepaid wallet; in your own AWS account, you pay AWS directly for the instance, EKS control plane, and storage, and Ownkube only ever operates the platform on top of it.
The other half of “no rewrite” is observability. Logs, metrics, and health checks aren’t something you have to wire up again on the new infrastructure. They’re part of the same platform layer, so they follow the deployment into your AWS account instead of resetting to zero.
Step 1: Connect your AWS account
Connecting doesn’t hand Ownkube your AWS credentials. It runs a CloudFormation stack in your account that creates a least-privilege IAM role scoped to what the platform needs to provision and manage a cluster, nothing broader.
The fastest way is the CLI:
okctl aws connect
By default this opens a browser handoff to run the CloudFormation stack in the AWS console. If you already have AWS credentials in your shell, you can run it end to end without leaving the terminal:
okctl aws connect --deploy
Either way, Ownkube receives the resulting role, not your keys. You can also start the same connection from the dashboard if you’d rather not touch a terminal.
Step 2: Pick a cluster shape
Once the account is connected, choose the shape the cluster runs in. This is a real choice, not a marketing tier: it changes what you pay AWS and how the cluster is laid out.
| Starter | Production | |
|---|---|---|
| Layout | Single AWS instance | Multi-AZ, highly available |
| Ownkube platform fee | Free forever | $5 / vCPU / month + $1 / GiB RAM / month |
| What you pay AWS | Directly, about $30/month for a t3.medium | Directly, for the EKS control plane, EC2 nodes, and storage, no markup |
| Free allowance | The instance itself, no credit card required | None; every vCPU and GiB is billed from the first second |
| Good for | Personal projects, prototypes, low-stakes workloads | Anything that needs to survive an availability zone going down |
AWS Activate credits and other startup credit programs apply in full to whatever you owe AWS on either shape. Ownkube isn’t in that billing path; it only meters its own platform fee on Production, and that fee is zero on Starter.
Today this works on AWS. GCP and Azure are coming soon, not available yet, so if your app needs to land on either of those, it stays on Ownkube Compute until that ships.
Step 3: Deploy the same app
Deploy exactly the way you already do: connect the git repository, or push an image, and pick the environment variables the app needs. If the app previously ran on Ownkube Compute, the deployment settings, in most cases, carry over directly to the new cluster; you’re pointing the same deploy source at your own infrastructure instead of Ownkube-managed compute.
# Deploy to the cluster you just connected
okctl deploy --cluster <your-cluster-name>
A custom domain you’d already linked, health checks, and scheduled jobs move with the deployment. Nothing about how you describe the app to Ownkube changes; only where it physically runs does.
Step 4: Confirm logs, metrics, and health checks came with it
Open the deployment in the dashboard the way you always would. Logs, CPU and memory metrics, and the health check status show up in the same panels, now reading from your own AWS account instead of Ownkube’s shared compute. There’s no separate observability stack to stand up on the new infrastructure and no second login for a monitoring tool. If something looks off after the move, the debugging path is identical to the one you already know.
When to make the move
Starter is the lower-friction path if you mainly want the app off shared compute, for a firmer performance ceiling or because a customer wants it inside their own AWS account, without paying a platform fee. Production is the right shape once the app needs to survive a zone outage or you’re past the point where a single instance is enough headroom. Either way you’re not committing to a rewrite to test the water: you can connect an account, try Starter, and move to Production later without touching the app itself.
If you’re earlier in that decision and still comparing where to run things at all, our comparison of Railway, Render, and Northflank and our look at Fly.io alternatives that let you own the AWS account cover the tradeoffs of managed-only platforms versus one that lets you step onto your own cloud later. And if your team already leans on an AI coding agent, connecting it to Ownkube over MCP works the same way regardless of which AWS account the app ends up in.
FAQ
Do I need to rewrite my app to run it in my own AWS account?
No. The same Dockerfile or git-push deploy, environment variables, and settings carry over. What changes is which infrastructure the platform provisions the deployment onto and who you pay for the underlying compute.
Does Ownkube get access to my AWS account?
No credentials are shared. Connecting runs a CloudFormation stack that creates a least-privilege IAM role scoped to what the platform needs; Ownkube never receives your AWS keys.
What does Starter actually cost?
Ownkube charges nothing for Starter. You pay AWS directly for the single instance it runs on, roughly $30 a month for a t3.medium, and that’s the only bill.
Can I use GCP or Azure instead of AWS?
Not yet. AWS is the only cloud supported today. GCP and Azure are coming soon.
What happens to my logs and metrics when I move an app to my own AWS account?
They keep working. Logs, metrics, and health checks are part of the same platform layer regardless of which AWS account the cluster runs in, so they show up in the same dashboard panels after the move.
Where Ownkube fits
The point of this path is that the decision of where an app runs doesn’t have to be permanent or made too early. Start on Ownkube Compute with no AWS account at all, and if the app earns its way onto your own infrastructure, move it there without a rewrite and without losing the logs, metrics, and health checks you already rely on. Deploy your first app.